
Table of Contents
- Introduction
- 1. Understanding TSA Rules for Digital Cameras
- 2. Packing Your Camera Gear for Flight
- 3. Security Screening: What to Expect at the Airport
- 4. Battery Rules for Cameras on Planes
- 5. Accessories and Gear Management
- 6. International Travel Considerations
- FAQ
- Conclusion
Introduction
Why travel with camera gear matters
You want to capture clear, vibrant memories without risking gear damage or delays. Proper planning protects fragile equipment and keeps you shooting, not waiting. When you travel with digital cameras, understanding what you can bring, where to pack it, and how security works makes a real difference in your day on the ground.
What this guide covers
We break down the TSA process for digital cameras and air travel. You’ll learn how to decide between carry-on and checked luggage for your gear, what items can trigger extra scrutiny, and how to protect sensitive equipment in transit.
Expect practical, action-ready steps on packing, securing batteries, and managing accessories. We’ll also touch on international considerations so you stay compliant at airports around the world.
1. Understanding TSA Rules for Digital Cameras
Are cameras allowed through TSA?
Yes. Digital cameras can travel on planes in both carry-on and checked bags. The key is knowing how batteries and accessories are treated and how to present your gear at security.
Carry-on vs. checked luggage for cameras
Keep your camera gear in carry-on to protect it from rough handling in transit. Lenses, bodies, and essential accessories should stay with you. Some items that fit your carry-on may need to be placed in an overhead bin space, so pack smartly for weight and balance.
What items trigger extra scrutiny
- Excessive loose power packs or unclear battery labeling
- Unusual or oversized tripods that exceed standard carry-on limits
- Unidentified items in your bag that resemble tools or parts
| Item | Typical TSA Handling |
|---|---|
| Digital camera body | Through standard screening; rarely delays |
| Lenses and accessories | Screened with the bag; keep items organized |
| Batteries (under 100 Wh) | Must stay in carry-on; terminals covered |
2. Packing Your Camera Gear for Flight
Best camera bags and compartments
Choose bags with dedicated, padded compartments to protect gear in transit. Opt for options that fit under seats or in overhead bins, with modular dividers and quick-access openings.
- Compact backpacks that balance weight distribution for long terminals
- Cam-specific inserts that secure bodies, lenses, and filters
- Water-resistant exteriors to guard against spills and rain at ports
Organizing lenses, bodies, and accessories
A clear organization speeds security checks and keeps you ready for action. Group items by function and size, then label or color-code for quick retrieval.
- Pack camera bodies together, with lenses in separate sleeves
- Place filters, memory cards, and chargers in labeled pouches
- Keep cables and small tools in a dedicated accessory pouch
Protecting fragile gear during transit
Protective padding and solid cases minimize movement and impact. Use high-density foam inserts and secure fasteners.
- Wrap sensitive components in microfiber cloths for extra cushioning
- Use lens caps, body caps, and filter cases to minimize exposure
- Choose cases with weather sealing for coastal or dusty environments
| Packing Consideration | Practical Tip |
|---|---|
| Size and weight limits | Balance protection with airline restrictions to avoid penalties |
| Accessibility | Keep essential gear in the top compartments for quick pulls |
| Protection level | Rigid shells plus cushioned dividers reduce movement during handling |
3. Security Screening: What to Expect at the Airport
When to remove gear from the bag
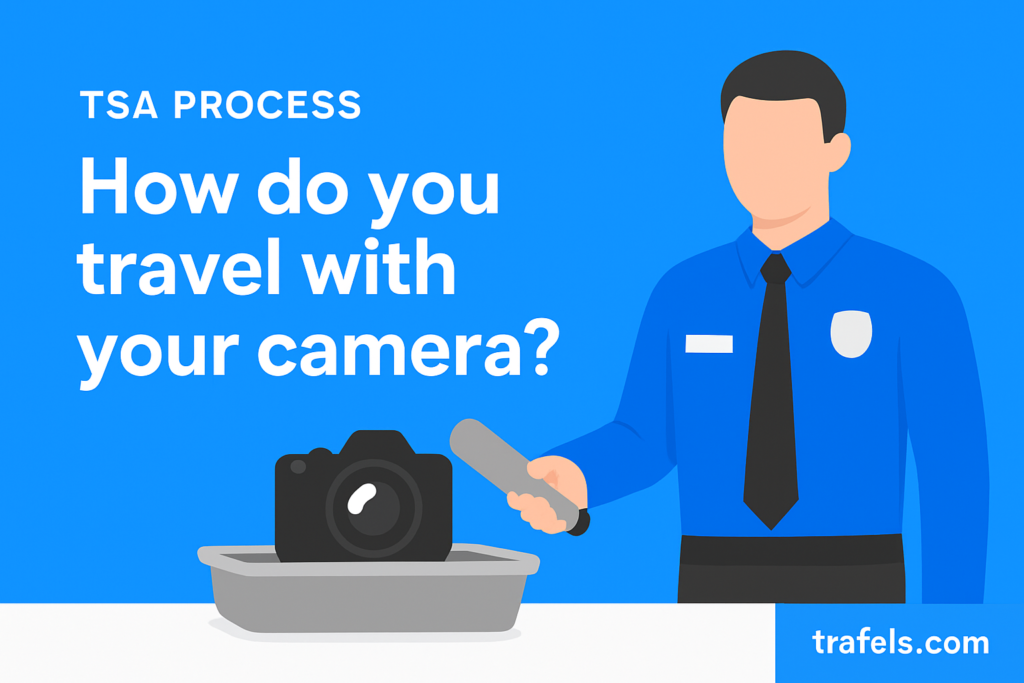
Have your camera gear ready for inspection as you approach the security scanner. In most cases you can keep the bag closed unless the officer asks you to remove items. Separate any large lenses or bodies if directed to do so.
How cameras appear in TSA X-ray
Digital cameras typically pass through the X-ray without issue. Lenses and accessories may appear as grouped shapes within the bag image, so be prepared to point out where specific items live if asked by screeners.
Handling batteries and power packs
Carry spare batteries in your carry-on with terminals insulated or covered. Keep power packs with their label visible to help the agent verify capacity. If a battery exceeds typical limits, you may face additional screening or need airline approval.
- Repair any loose battery connections before screening to reduce prompts
- Use dedicated battery cases to prevent short circuits
- Have a spare battery inventory in your packing list for easy verification
| Screening Step | What to Expect |
|---|---|
| Arrival at checkpoint | Present ID and boarding pass if requested |
| Bag screen | Camera gear stays in bag unless asked to remove items |
| Battery check | Batteries carried in carry-on; terminals covered |
4. Battery Rules for Cameras on Planes
Carry-on vs. checked battery restrictions
Batteries are generally restricted to carry-on luggage. Keep spare batteries out of checked bags to reduce heat or crush risk. In your carry-on, protect terminals and keep batteries in their original packaging or use terminal covers.
Watt-hour (Wh) limits and what they mean
Most camera batteries fall under 100 Wh. You can bring extra spares in carry-on for personal use without airline approval. If a battery approaches or exceeds 100 Wh, you may face additional screening or need airline confirmation. Always verify the Wh rating printed on the battery.
Spare batteries: safety and labeling
Label each spare battery with its capacity and model. Use clear plastic cases or dedicated battery organizers to prevent short circuits. Avoid loose batteries in bags and keep them away from metal objects that could cause shorting.
| Scenario | Guidance |
|---|---|
| Spare battery under 100 Wh | Carry in cabin, terminals protected |
| Spare battery 100-160 Wh | Airline approval required; carry-on only |
| Battery larger than 160 Wh | Not permitted in passenger aircraft |
5. Accessories and Gear Management
Tripods, monopods, and oversized equipment
Plan for space and security checks when bringing support gear. Many tripods and monopods exceed standard carry-on dimensions, so you may need to gate-check or pack them in a dedicated oversized bag.
- Measure each item against airline size limits before packing
- Disassemble or collapse when possible to reduce volume
- Wrap with protective padding to prevent damage during handling
Memory cards, chargers, and cables
Organize small components to speed up screening and reassembly. Clear labeling helps you locate essentials during transit and avoids unpacking at security.
- Store cards in labeled cases or pouches
- Keep chargers and cables in a dedicated pouch with a compact power strip if needed
- Separate high-speed cards from standard ones to ease access
Drones and other devices: separate considerations
Drones introduce extra screening and regulatory steps. Some airports restrict drones in carry-on despite overall gear allowances, so verify local rules if you plan to fly before or after your trip.
- Remove batteries and store in carry-on with terminals protected
- Check drone dimensions against airline policies for carry-on vs. checked luggage
- Carry documentation for flight modes and any country-specific restrictions if traveling internationally
6. International Travel Considerations
Different airports, different procedures
International airports vary in how they screen camera gear. Some hubs run faster scans for familiar brands, while others conduct more detailed checks for fragile components. Plan for potential longer waits and be ready to separate gear from your bag if asked.
- Check local airport rules before you fly, even if you know the TSA process.
- Be prepared to present gear inventories or receipts when crossing borders.
- Know that battery rules may differ by country; verify limitations for the destination.
Patience tips for security queues abroad
Queue times can spike during peak travel periods. Have your packing list accessible and keep devices powered but stored until needed. A calm, orderly approach helps you respond quickly to screener requests.
- Label gear clearly to reduce handling time.
- Carry a spare battery plan that aligns with local rules to avoid delays.
- Pack a compact, quick-access lens or body in a separate pouch to speed reassembly after screening.
Insurance and documentation for overseas trips
Protecting gear abroad requires more than a packing list. Insurance can cover loss, damage, or theft, and digital copies of serial numbers and receipts speed claims. Keep documentation secure but accessible.
- Carry coverage details for camera bodies, lenses, and storage devices.
- Include country-specific transit notes if your itinerary includes multiple jurisdictions.
- Register valuables with your insurer when traveling to higher risk regions.
FAQ
Do I need to remove a camera from my bag at security?
Generally, you do not need to remove a digital camera from your carry-on. If the inspector requests a closer look or if a device is large or wrapped in metal, have it ready to present. Keep it accessible to speed the process.
Can I bring cameras in checked luggage?
Cameras can travel in checked luggage, but there is a higher risk of damage from handling. If you opt for checked bags, cushion bodies and lenses with padded cases and protective padding around fragile parts.
What should I do if TSA flags my gear?
Remain calm and cooperate. A manual inspection may require removing items. Have a packing list and receipts handy to verify gear. If you disagree with a decision, ask for a supervisor and follow their guidance.
Conclusion
Key takeaways for hassle-free travel with camera gear
Pack smart by keeping the core camera body and essential lenses in carry-on, with sleeves that cushion against impact. Know the basics of battery limits and label spare power to reduce delays at security and speed reassembly after screening.
Choose a bag with clearly defined compartments to minimize rummaging through gear during checkpoints. Have a simple inventory ready in case screeners request details about what you’re carrying, and keep receipts or serial numbers accessible for insurance claims later.
Pro tips to maximize sightseeing time while protecting gear
- Replace bulky gear with a compact alternative when possible to cut handling time and avoid delays at security.
- Organize memory cards in labeled pouches and keep a portable reader within easy reach for fast card transfers on layovers.
- Plan security timing around peak windows and carry a backup plan for longer queues, such as a ready-to-grab spare lens for crowd shots.